Carry On Abroad
20 January 2021We take a look back at what we’ve learned in the past 12 months and how that has helped with our restoration of Carry On Abroad
The end of 2020 marked one year since we delivered ‘Carry On Up The Khyber’, the first of our contributions to Britbox’s ‘Remastered and Re-loved’ series of British classics, painstakingly restored in HD. In the meantime we’ve restored another four titles – ‘The 39 Steps, Carry On Camping’, ‘Ill Met By Moonlight’, and most recently ‘Carry On Abroad‘ – and we thought now would be a good time to reflect on what we’ve learnt, and how our processes have been tweaked in the time between ‘Khyber’ and ‘Abroad’.
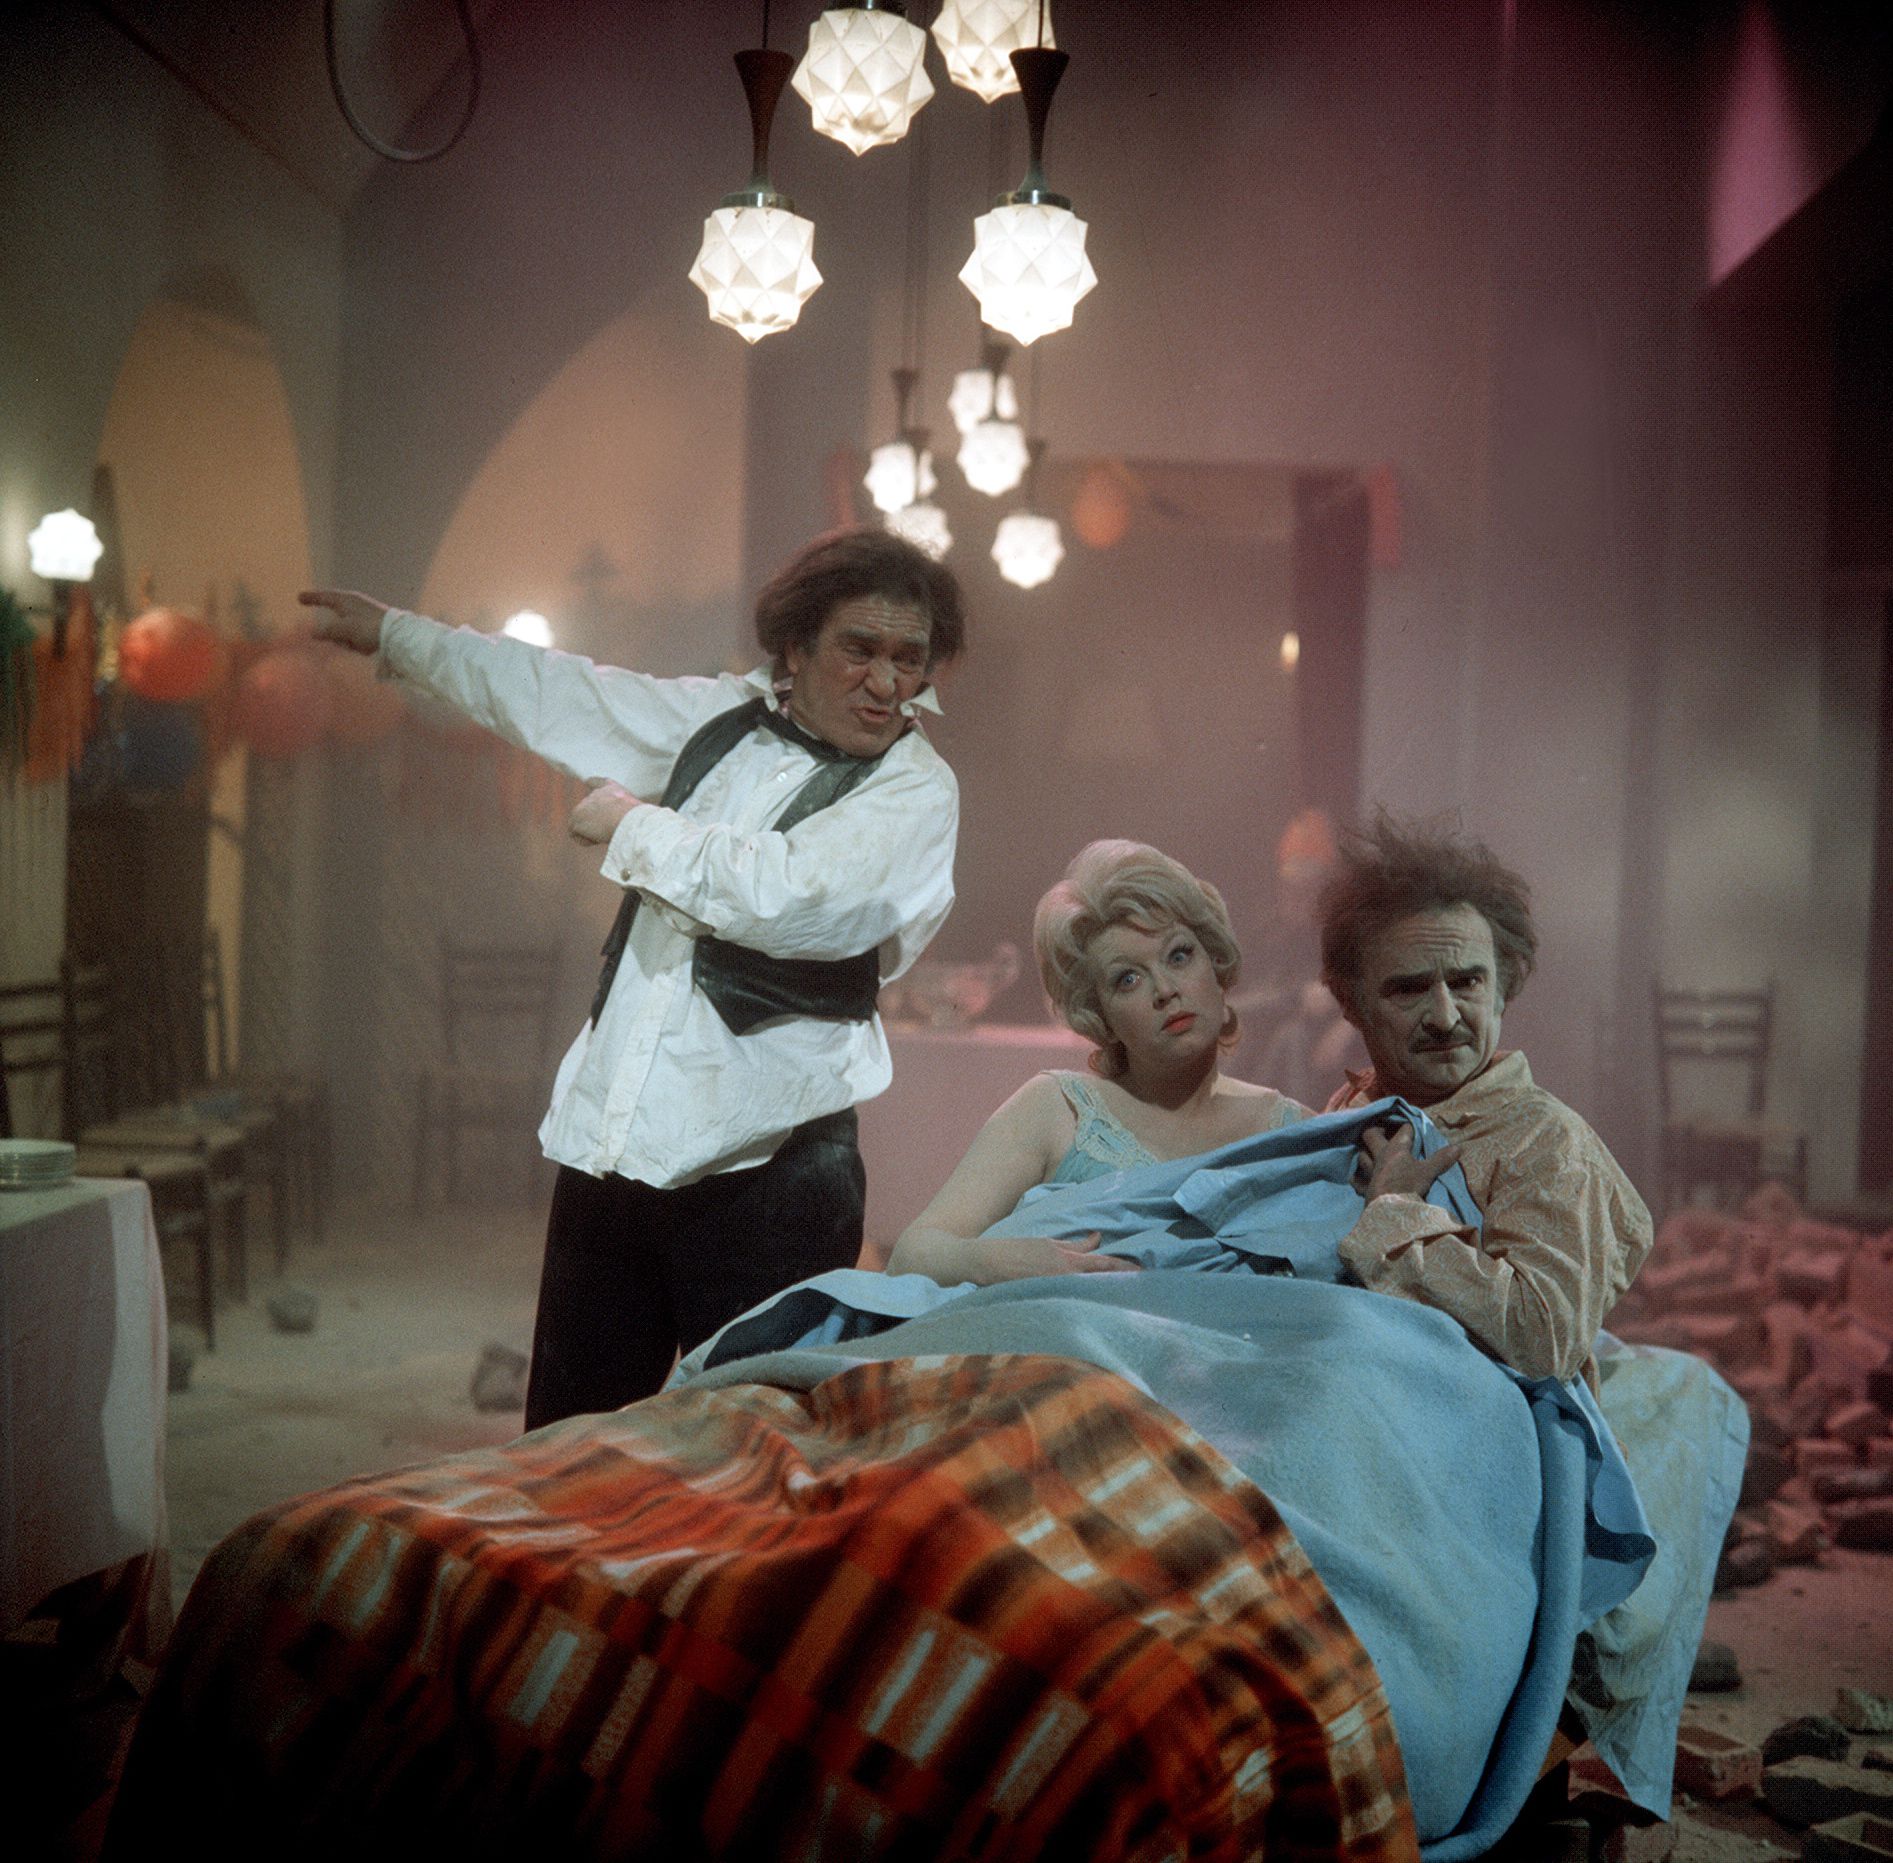
In our original blog on the restoration of ‘Carry On Up The Khyber‘ we talked about the challenge of grading a film without the guidance of the filmmakers. We discussed how we can turn to existing SD transfers of the film as a benchmark of how the colours should look, but this isn’t without it’s concerns to address. There could be multiple existing versions with different grades, they could have been graded poorly, and there’s no guarantee that any of them were approved by the filmmakers. On the other hand, an existing release could be the version that – filmmaker-approved or not – audiences are most used to seeing, and a new grade could be jarring and may be received negatively, even if it is more technically or artistically accurate. It’s a topic that’s up for discussion at the moment following the UHD blu-ray release of the ‘Lord Of The Rings‘ trilogy and the updated Criterion Collection release of ‘In The Mood For Love’, both of which have altered the colour palette from previous home releases. In the case of our restoration of ‘Carry On Abroad’, we again went in with the intention of matching the SD version that was previously streaming on BritBox, albeit with a more necessary leniency when it came to correcting issues. Turquoise-tinted whites gave the film a cool edge that didn’t fit the warm holiday setting, and there was inconsistency at times between shots that was easily corrected, but we think audiences will agree that we’ve been faithful to existing versions of the film.
Something else we’ve discussed in previous blogs is the process of tackling flicker while minimising the risk of introducing ghosting. This was a particular concern in ‘The 39 Steps‘ due to the severity and locality of the flicker, but we faced a slightly different problem when it came to ‘Carry On Abroad’. Being a monochrome film, we only had to worry about luminance flicker in ‘The 39 Steps’, whereas Carry On Abroad contained local flicker in the red, green and blue channels. Tackling this too heavily, particularly in scenes with sharply contrasting colours, would result in smearing whenever there is motion. This really tested our philosophy of leaving in defects if we can’t remove them cleanly – while we would need to avoid introducing smearing and ghosting, the flicker was bad enough at times that it still needed addressing. Of course, it’s possible to significantly reduce the aggressiveness of the tool, eliminating the risk of smearing at the cost of effectiveness. In many cases this is what we did, happy that we could see enough of an improvement without risking pushing it any further. In other cases the tool did have to be pushed further, and smearing that did occur had to be manually fixed. This is often an option – push the tool as far as needed, and fix any errors that occur. It can give the best results, but it’s time-consuming and costly.
Also potentially more time-consuming than it needs to be is stabilisation. Instability can basically fall into one of two categories: film weave and camera shake. Film weave occurs when the film shifts as it is transported during the transfer process, meaning the image moves slightly from frame to frame. Camera shake occurs during filming, and in many ways is an authentic part of the content. We want to eliminate film weave, but it’s not necessary to deal with camera shake. The thing is that once the film has been properly framed up and over-scan cropped out, film weave and camera shake look very similar – it’s just instability. Camera movements – such as pans or tracks – make things even more complicated. They’re an intended part of the shot that absolutely have to be left in. So ideally we want to be removing film weave, limiting the removal of camera shake, and avoiding offsetting any camera movement. That’s easier said than done when you have a shot that contains all three, as well and characters and objects moving around within the frame. ‘Carry On Camping‘ is full of the kind of physical comedy and chaos – complete with camera movements and shake – that make only stabilising film weave complicated and often unnecessary. We therefore took the decision on quite a few shots that no stabilisation was needed – even done properly the benefit would be so intangible that it would be an unproductive way to spend the time. We took this thinking into ‘Carry On Abroad’, which as well as the physical comedy also contains a few scenes shot without the use of a tripod on a cramped coach. The camera shake in these scenes is constant, and it completely disguises any unintended instability that may come from the transfer process. Again, we came to the conclusion that time would be better spent elsewhere.
Our restoration of ‘Ill Met By Moonlight’ presented us with a unique challenge in the form of horizontal scratches. Scratches on the surface of film usually appear as black or white lines that run vertically down the image, and therefore the software is built to look for and process such lines accordingly, but it’s not really built to look for horizontal lines. Also, due to the aspect ratio, horizontal scratches will run through a larger portion of the image, and therefore increase the chance of false positives and visible artifacting. We’ll be writing another blog post going into more detail about this soon, but it taught us a lot that we took forward and applied to all aspects of the ‘Carry On Abroad‘ restoration, and beyond. We’ve always used image mattes as a really helpful way to isolate specific parts of a frame or shot, but it taught us just how useful these can be in order to layer multiple effects without risking issues cropping up in unexpected places. It taught us how this can be used in conjunction with de-grain and re-grain in order to mask a repair. And it taught us to think outside the box and always consider using the tools in ways that they weren’t necessarily intended. But more than anything, it reaffirmed that even with the most powerful tools used in the most innovative ways, occasionally you still have to consider leaving a defect in rather than create a new one.


